

The fastest reliable home method is a white vinegar soak followed by a cold machine wash and a low-heat tumble with 2–3 wool dryer balls. For screen-printed tees, always turn the shirt inside out, use cold water, skip long hot soaks on the printed side, and test any new method on an inside seam first. Whether you’re reviving a stiff new cotton tee or trying to keep a Simpletee graphic shirt feeling broken-in, the methods below cover every scenario.
Key Takeaways
The most effective way to soften cotton t-shirts at home combines a 1/2 to 1 cup white vinegar pre-soak, a cold wash with baking soda, and a low-heat tumble with wool dryer balls, finishing on a rack while still slightly damp.
| Point | Details |
|---|---|
| Vinegar soak ratio | Use 1/2 to 1 cup of distilled white vinegar per load; soak 30–60 minutes in cold water before washing. |
| Baking soda supplement | Add 1/2 cup to the drum alongside mild detergent to adjust pH and cut mineral buildup. |
| Dryer ball technique | Run 2–3 wool dryer balls on low heat; remove the shirt slightly damp and finish on a rack. |
| Screen-print protection | Always turn printed tees inside out, use cold water, and place in a mesh bag to protect ink adhesion. |
| Simpletee tri-blend option | Simpletee’s tri-blend tees start soft and hold their feel, skipping the need for DIY softening treatments. |
Table of Contents
- What you need before you start softening
- How to soften t-shirts: five methods ranked by safety
- How to soften shirts with screen prints safely
- Habits that keep t-shirts soft over time
- Fast tricks when you need softness right now
- What not to do when softening t-shirts
- The routine that actually works, backed by research
- The DIY vs. buying pre-softened case
- Simpletee tri-blend tees: soft from the first wear
- Sources
What you need before you start softening
Having the right supplies on hand makes every method faster and safer for your fabric and prints.
- Distilled white vinegar — removes detergent residue and relaxes cotton fibers without leaving a waxy coating
- Baking soda — adjusts wash pH and helps neutralize odors for a softer overall feel
- Mild detergent — less aggressive on fibers than heavy-duty formulas; use half the recommended dose
- Wool dryer balls (2–3) — separate garments during tumbling, improve airflow, and physically loosen fibers
- A tub or bucket — for pre-soaks; keeps the solution contained and the shirt fully submerged
- Mesh laundry bag — protects screen prints and delicate trims from agitation during machine washing
- Spray bottle — for the conditioner spot-softening method; lets you target stiff areas without soaking the whole shirt
Print-safe flags: always use cold water for soaks, skip bleach entirely on colored or printed tees, and default to the mesh bag for anything with a graphic on the front.
How to soften t-shirts: five methods ranked by safety

These go from gentlest to most aggressive. Start with Method A for screen-printed or delicate shirts; move to C or D only for plain heavy cotton.
Method A: Vinegar rinse soak
- Fill a tub with cold water and add 1/2 to 1 cup of distilled white vinegar per load equivalent (roughly 1–2 gallons of water for a hand soak).
- Submerge the shirt and soak for 30–60 minutes. For a very stiff new tee, you can extend to a few hours, but keep it cold.
- Transfer directly to the washing machine. Run a cold, gentle cycle with your normal mild detergent. No need to rinse out the vinegar first.
- Tumble dry on low with 2–3 wool dryer balls.
Adding 1/2 to 1 cup of distilled white vinegar to the rinse cycle removes detergent residue and softens fibers without the waxy buildup that some commercial softeners leave behind. Vinegar works by stripping accumulated soap film rather than chemically altering the fiber itself, which is why it’s safe for most fabrics and prints.
Method B: Baking soda wash
- Load the shirt into the washer as normal.
- Add 1/2 cup of baking soda directly to the drum along with your mild detergent.
- Run a cold, gentle cycle.
- Dry on low with dryer balls.
Baking soda adjusts the wash water’s pH, which helps fibers feel smoother coming out. It also cuts through any mineral buildup from hard water, a common but overlooked cause of stiffness. You can combine this with Method A by adding vinegar to the rinse dispenser and baking soda to the drum — they don’t cancel each other out when used at different cycle stages.
Method C: Salt soak for new heavy cotton
- Dissolve 1/2 cup of salt in a bucket of cold water.
- Test a hidden seam for colorfastness first — leave a damp cloth on it for 10 minutes and check for dye transfer.
- Submerge the shirt for 30 minutes to overnight.
- Rinse thoroughly, then wash cold with mild detergent.
A salt soak in cold water is particularly useful for breaking in stiff new blanks or heavyweight cotton tees. It also helps set the dye, which is a bonus for dark-colored shirts.
Method D: Conditioner spray for spot softening
- Mix one part hair conditioner with three parts water in a spray bottle.
- Lightly mist the stiff areas of the shirt (collar, cuffs, body).
- Gently stretch the fabric by hand while damp.
- Let air dry on a rack, or run through a quick low-heat tumble for 10 minutes.
This is the most targeted method — useful when only part of the shirt feels stiff, or when you don’t want to run a full wash cycle.
Method E: Commercial fabric softener
Use sparingly. Add the manufacturer’s recommended dose to the rinse cycle, but cut it by half. Overuse builds up a waxy coating on fibers that actually traps stiffness over time. Skip it entirely on moisture-wicking or athletic fabrics, and avoid it on screen-printed tees more than once every 4–6 washes.
Pro Tip: Pull the shirt from the dryer while it’s still slightly damp, then finish drying on a rack. Finishing on a rack prevents the over-tightening of yarns that high heat causes in the final minutes of a cycle, which is usually what makes a shirt feel scratchy straight out of the dryer.
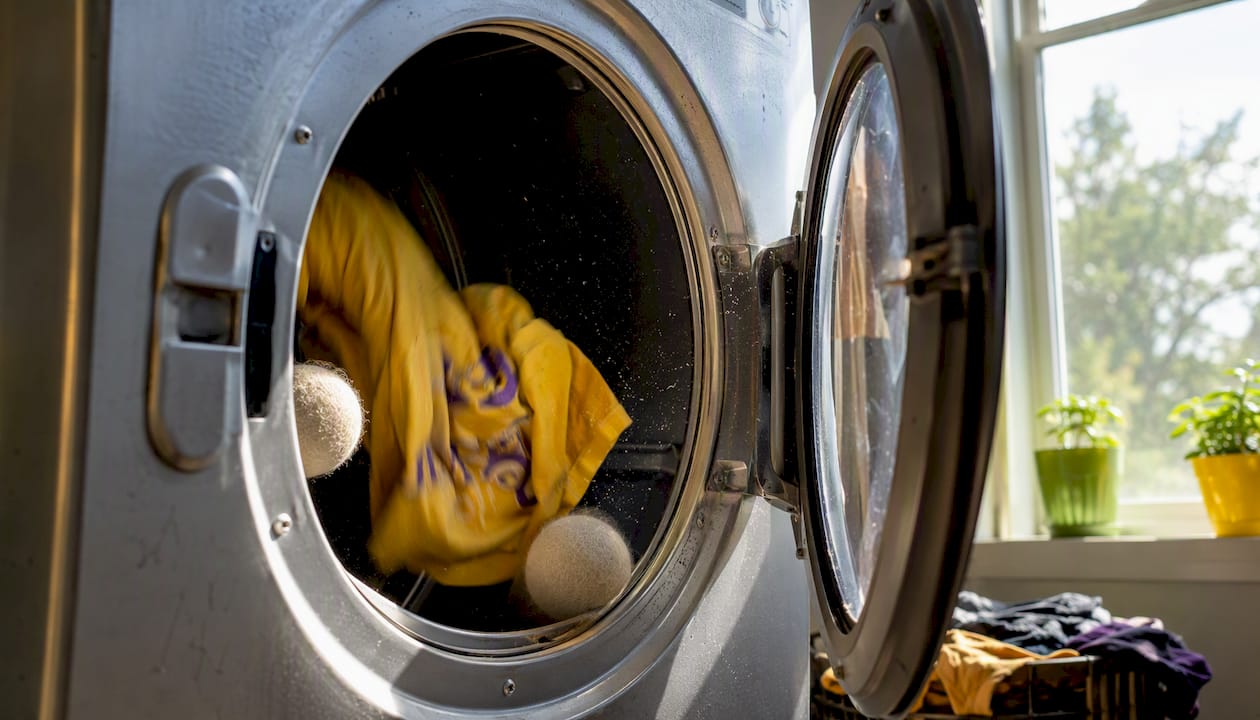
If the shirt still feels stiff after one cycle, repeat the vinegar soak and combine it with the baking soda wash in the same laundry run. A second pass handles most cases. For extremely stiff new cotton, try the salt soak overnight before the vinegar wash.
Consumer methods like vinegar, baking soda, and mechanical tumbling replicate the broken-in feel that manufacturers achieve with enzyme and silicone washes at the fiber level. You’re doing at home what a garment factory does industrially, just more gradually.
How to soften shirts with screen prints safely
Screen prints and heat transfers are more fragile than the fabric around them. The wrong method can crack ink or lift edges.
DO:
- Turn the shirt inside out before every wash and soak
- Use cold water for all soaks and machine cycles
- Place printed tees in a mesh laundry bag to reduce agitation
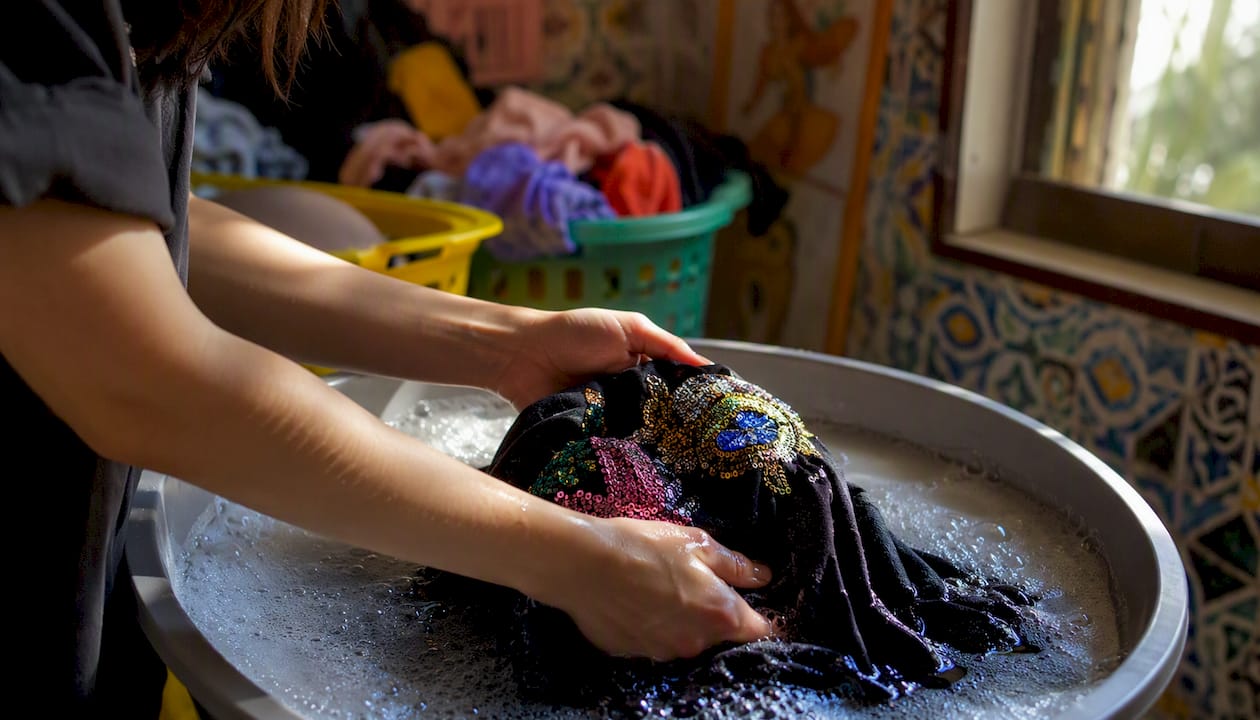
- Opt for hand-washing or the conditioner spray method when the print is large or covers most of the front
- Test any new soaking agent on an inside seam before applying to the full shirt
DON’T:
- Soak the printed side face-down in hot water — heat softens adhesive layers and lifts ink edges
- Run printed tees on a heavy-agitation cycle; the mechanical friction wears ink faster than heat does
- Use bleach on any colored or printed shirt; it degrades both the dye and the ink binder
- Iron directly over a screen print; always use a pressing cloth or iron inside out
Industrial enzyme and silicone washes soften fibers without excessive fabric damage when controlled, but home methods applied carelessly to printed areas can do the opposite. The print’s adhesion depends on the ink binder staying intact, which is why cold water and inside-out handling matter more for graphic tees than for plain ones.
When a shirt has rhinestones, embroidery, or woven patches, hand-wash only and skip soaks longer than 30 minutes.
Habits that keep t-shirts soft over time
Getting a shirt soft is one thing. Keeping it that way is mostly about what you stop doing.
- Wash on cold every time — hot water tightens yarn and fades prints faster
- Use half the detergent dose; excess soap is the single biggest cause of recurring stiffness
- Add a vinegar rinse every 4–8 washes to clear residue buildup before it accumulates
- Run 2–3 wool dryer balls on low heat instead of high; the mechanical separation does the work, not the temperature
- Remove shirts slightly damp and finish on a rack — this one habit alone prevents most post-wash stiffness
- Fold graphic tees rather than hanging them; hanging stretches the collar and shoulder seams over time
- Store folded shirts loosely — cramming a drawer compresses fibers and sets creases that feel stiff when worn
Repeat the full vinegar soak treatment every 8–12 washes for shirts that tend to stiffen up, or any time you notice detergent buildup returning. Baking soda can be used every wash as a detergent supplement without any downside.
Fast tricks when you need softness right now
Sometimes you need a shirt wearable in the next hour, not after an overnight soak.
- Dryer with wool balls (10–15 minutes): Toss the shirt in the dryer on medium heat with 2–3 wool dryer balls. The tumbling action physically loosens fibers fast. Caveat: keep it under 15 minutes for screen-printed tees to avoid heat stress on the ink.
- Garment steamer or iron steam (5–10 minutes): Hold a steamer 2–3 inches from the fabric and gently stretch the shirt while steaming. The moisture and heat relax fibers almost immediately. Caveat: never steam directly onto a screen print; work the inside of the shirt or around the print.
- Conditioner spray + quick tumble (20–30 minutes): Mist the shirt with the conditioner-water mix from Method D, let it sit 5 minutes, then tumble on low for 15 minutes. Caveat: check that the conditioner doesn’t leave a visible residue on dark fabrics before using on a shirt you’re about to wear.
What not to do when softening t-shirts
These are the moves that feel logical but make things worse.
- High-heat drying to “shrink in” softness — heat above medium weakens cotton fibers over time and can cause screen-print cracking; it also over-tightens yarns, producing the scratchy feel you’re trying to fix
- Overusing commercial fabric softener — the coating builds up wash after wash, eventually trapping detergent residue inside the fibers and making the shirt feel heavy and stiff
- Aggressive scrubbing or DIY stone-washing — rubbing fabric against itself or using abrasive materials thins the weave unevenly and damages print adhesion
- Bleach on colored or printed tees — degrades both the dye and the ink binder; even oxygen bleach can weaken screen-print adhesion on repeated use
- Leaving soaked shirts piled wet — a wet shirt left bunched for hours sets wrinkles into the fiber and can encourage mildew, which makes the fabric smell and feel worse
The routine that actually works, backed by research
This is the single best sequence for most cotton and graphic tees, distilled from what the research supports.
- Pre-soak 30–60 minutes in cold water with 1/2 to 1 cup of distilled white vinegar. Turn the shirt inside out if it has a screen print.
- Wash cold with mild detergent and 1/2 cup of baking soda added to the drum. Use the gentle cycle.
- Tumble dry on low with 2–3 wool dryer balls. Pull the shirt out while still slightly damp.
- Finish on a rack until fully dry. The residual moisture keeps fibers supple and prevents the yarn over-tightening that causes post-dryer stiffness.
Enzyme washing and silicone finishes used in industrial garment finishing soften fibers and reduce surface fuzz; this four-step home routine mimics those effects mechanically and chemically. The vinegar handles residue, the baking soda adjusts pH, and the dryer balls do the physical fiber-loosening work that a garment tumbler does in a factory.
Fabric attributes like combed cotton, long-staple fibers, and ring-spun construction set the ceiling for how soft a shirt can get. Finishes and home treatments improve the feel, but they can’t turn a low-quality fiber into a premium one. If a shirt stays stiff after three rounds of this routine, the fiber itself is the limiting factor.
For heavyweight cotton, understanding how finishing affects softness in heavier tees can help you set realistic expectations before you start — some thick weaves need more cycles to break in than lighter ones.
The DIY vs. buying pre-softened case
DIY softening is genuinely worth the effort for shirts you already own and love. A vinegar soak costs almost nothing, takes 30 minutes of active time, and produces a real difference in hand-feel after one or two cycles. For a graphic tee you’ve had for years, there’s no better option.
The trade-off shows up when you’re starting from scratch. A shirt built on low-quality fiber will plateau quickly no matter how many vinegar soaks you run. Soft-wash finishes can mask low-quality fiber at the point of purchase, which means a shirt that feels great in the store may stiffen up after a few washes once the finish wears off. That’s when the fiber construction underneath matters.
For fans who want softness built in from day one, the smarter move is choosing a tri-blend or combed ring-spun cotton shirt that starts soft and stays that way. DIY methods then become maintenance, not rescue operations.
Simpletee tri-blend tees: soft from the first wear
If you’d rather skip the soaking and go straight to wearing, Simpletee’s tri-blend graphic tees are designed to feel broken-in before you even wash them. The tri-blend construction combines cotton, polyester, and rayon in a mix that drapes softly, holds its shape, and keeps prints looking sharp wash after wash.

Every Simpletee design — from the Stone and Dagger to the Rebel Forever — is printed on fabric that doesn’t need a vinegar soak to feel good. At $24.99, it’s a straightforward call for fans who want fandom-worthy graphics and comfort without the laundry chemistry. Browse the full collection at Simpletee and find the shirt that fits your universe.
Sources
- How to Make Your T-Shirts Feel Vintage Soft | One Good Thing by Jill
- How to soften t-shirt | The Chic Tribe
- How to make T‑shirts soft | InStyle
- Industrial washing techniques for heavy cotton tees | NewAsiaGarment
- T-Shirt label jargon decoded: What actually matters — Boring Label